
Whoever invented the idea of building shelving in between the studs in a wall is a genius. If you’ve searched Pinterest or Google for ways to find extra storage space in a small bathroom, you’ve probably seen photos of some of these.
I decided this would be a good project to try, since I recently moved to a house with the world’s smallest master bathroom. And besides being tiny, it was also a little on the boring side. Here’s my wall before the big event. (Excuse the patches–I was getting ready to paint before I got a wild hair to try this.)

To begin, I drilled some 1/4″ holes in the wall in order to have places to insert the tip of my saw to cut a hole.

Here’s my super-useful garage sale saw. (Just had to show it.)

I tapped my saw into the hole expecting to hit another piece of drywall that typically would be behind it, but I didn’t hit anything but air. This meant there was an open cavity behind my wall, and that, ladies and gentlemen, was a very good thing. My super-smart carpenter brother, Mike, told me there probably used to be a tub behind the wall before someone converted the space to a stand-up shower. At that point, it was looking like my between-the-stud project was turning into something a little more exciting than I anticipated.
Just to be sure I wasn’t going to hit something like pipes, duct-work or electrical wires, I only cut out a smallish piece of drywall to start. I’d rather patch a small hole than a big one if I was going to run into a problem or lose my nerve.

Once I could peek inside the hole and saw nothing in the way, I made it a little larger, and then I cut out a second hole. There was a stud running down the middle of the wall that I wasn’t ready to cut out just yet.
I hadn’t decided exactly how big I wanted to make my shelving unit, so I left these two ugly holes in the wall for a week or two while I mulled the whole thing over. I would liked to have searched for a unique old door or window of some sort to make this into a cabinet rather than a shelf, but I was a little too impatient for that.


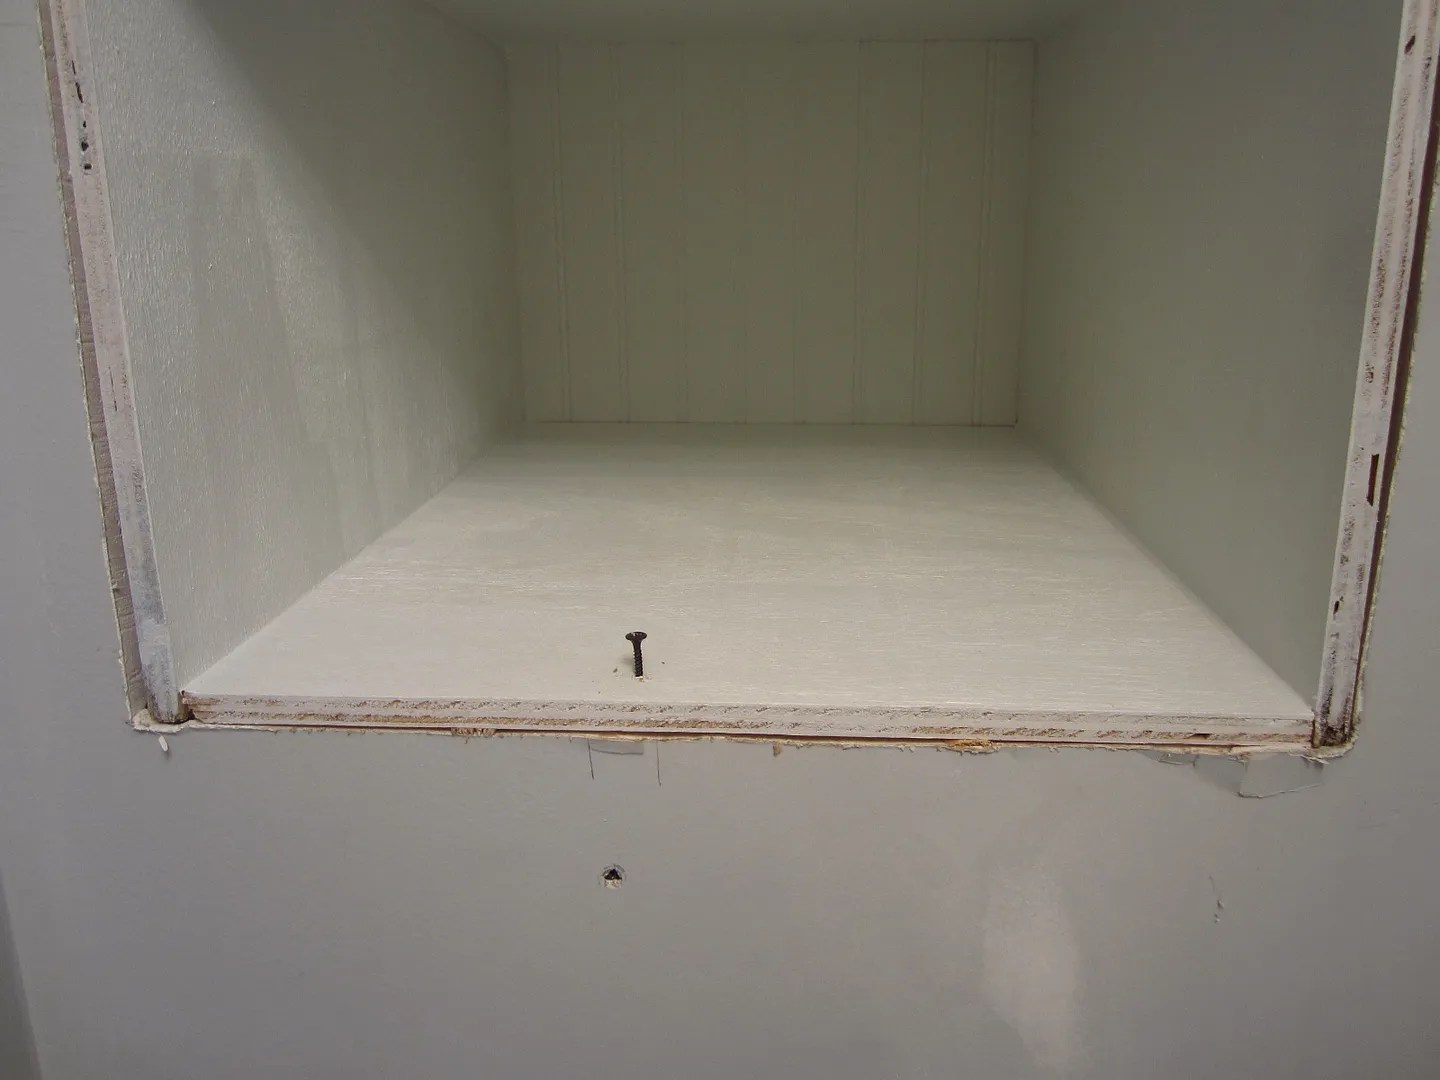
This is a picture of inside the hole. Behind the PVC pipe is the back of my shower in my other bathroom.

Once I made my decision of how big to make my shelving unit, I finally cut the hole to the desired size.

I’ve agonized over the years about whether or not to buy a reciprocating saw, and once again I wished I had one. But I just used a good, old-fashioned hand saw–also from a garage sale–and got the job done just fine. My biceps got a work out, my pores were cleared from sweating and I’m a better person for it.

Finally I have my hole!

I decided to make full use of as much of the open space behind the wall as I could. This meant building a big box, which also meant building a heavy box. I made a frame inside the cavity out of 2 x 4’s to support the weight of my shelf unit. I added a 2 x 4 on each side of the opening to screw my box into, as well as a couple for the unit to sit on. I made sure the boards were level so my shelf wouldn’t be off kilter when I set it on the frame.

This may seem a little backwards to a real carpenter like my bro, but I always found it easier to cut my back piece first, and build the box to fit it. I measured the opening I had cut in the wall, and then cut my piece that would be the back of my unit, a tad smaller than the opening. That way, I’d have a little wiggle room when trying to shove that bad boy into the wall.
So here’s my bead board back piece. It looked a little beat up from the move, but it painted up just fine.

I built this unit using simple butt joints–nothing fancy or complicated. I used plywood for the box, and particle board for the shelves. I prefer to use MDF, but used plywood for the box because it’s lighter weight, and I knew this shelving unit was going to be a bear to lift and slide into the wall–especially while straddling a toilet.
In addition to MDF being heavier than plywood, it swells when it gets wet, and this will be sitting right next to my shower pipes. You just never know…I used particle board for the shelves because it’s nicer looking than plywood when it’s painted, and I had no plans to put anything heavy on these shelves. The outer plywood box would protect the shelves from water, as particle board doesn’t like water all that much either.
I knew what items I would be storing on the shelves, and spaced them accordingly. In order to make the best use of the prime real estate I had discovered, I made the shelves 24″ deep. In this photo, I was just trying to get my shelf spacing figured out.

It’s actually easiest to paint the pieces with a coat of primer and a coat of finish before you assemble it. Then caulk all of the joints, let dry and put a final finish coat on.

Here’s my son, Ross, ready to help with the install. Whatever would I do without him!!!

Ready, set, go!

After some man-handling, we got it into the wall.

I screwed it into the stud it was sitting on and into the studs on each side. In this scenario, if I ever needed to have my shower plumbing replaced, I could (reluctantly) remove the unit from the wall to access the pipes.
Next I trimmed it out and make it look pretty. I used this nifty vinyl trim from Home Depot. I’m all about the vinyl trim. It doesn’t crack like wood does, it’s flawless and it paints easily.


Adding trim made the shelves look more substantial.

Then I added trim pieces to the sides.

I had some pieces of a beautiful, old, wooden picture frame left over from another project, so I cut them to size, and painted them white for the top and bottom trim pieces. I caulked wherever one trim piece met another. I sunk all of my nails, puttied the holes and sanded off the excess putty after it dried. Then I painted all of the trim.


And here she is! Beauty and function all wrapped up into one big, beautiful piece of…something.


Since the shelves were so deep, I was able to put some smallish plastic storage bins of items I don’t use too often behind the towels. This freed up space in my vanity.


In addition to adding the shelving unit, I replaced my bathroom door with a pocket door. Making my way to the toilet to do my thing used to be like squeezing into one of those public restroom stalls where you have to straddle the toilet in order to shut the door. And I was growing a little tired of a door against my backside while I was brushing my teeth. My amazingly talented brother (yes, I’m a suck-up) installed the pocket door for me.

I ended up changing out the mirror, the light fixture and the faucet as part of my bathroom overhaul too. Next is the toilet, but that’s for another day.
I’m not a fan of having over-the-toilet cabinets in a bathroom unless it’s absolutely necessary. I’d rather look at a pretty picture, and I feel like a cabinet cuts into the space too much. But if storage is needed and you aren’t gutsy enough to cut an enormous hole in your drywall, then so be it. With my new in-the-wall storage, the toilet cabinet is no longer a must. Here’s my before picture.

And here’s the after. The walls just have a tinted primer on them in this photo, but once it’s painted, I’ll swap out my photo and no one will be the wiser.

So if you need storage or maybe just a space to display pretty things in a room in your house, take a deep breath and try cutting a hole in your wall!
This post was written by Tracy Evans who is a Certified Home Stager, Certified Redesigner and Journeyman Painter. Feel free to visit her website at http://www.HelpAtHomeStaging.com to view her portfolio for more before and after pictures of her projects. And if you enjoy gardening, you may want to visit her gardening blog at MyUrbanGardenOasis.


Great job Sis! I wish I had space for one of these. It’s beautiful and simply genius!
LikeLike
Thank you! Everybody has room for one of these. (I know somebody who could make you one.)
LikeLike
Beautiful idea and work as usual, but where is your toilet paper? I noticed it is not on the side of your cabinet. Does your brother ever do private home projects?
LikeLike
Thank you, Marsha! I was wondering if anyone would notice the toilet paper roll was missing in the “after” photo. I decided to stop using toilet paper altogether. (*Smile*) Ok, so I do actually still use toilet paper, but I haven’t decided where I’m going to permanently mount it just yet. I currently have it resting on the bottom shelf of the wall unit, which is much better than where it was. Whenever I sat down on Johnny, my elbow would actually rub up against the darn thing. I’ve got three ideas I’m contemplating. I could mount a holder on the wall inside the shelf unit, mount a holder underneath the bottom shelf so it’s hanging upside down so-to-speak or to make another small recessed area below the shelf unit and mount it inside there. If I come up with something terrific, I’ll post about it. I’ll email you about my brother. Thank you for your comment!
LikeLike
[…] Read More […]
LikeLike
I am dying to convert my bathroom door to a pocket door. My home was built in 1927 and I don’t want to destroy a plaster wall if the door isn’t perfect. Have you had any issues with the door track since you had it installed?
LikeLike
No, I haven’t had any issues with my pocket door since installation. I had one in my last house that came off the track, but someone was able to put it back on for me and it never came off again. I LOVE that pocket door. It’s a Godsend in a tiny bathroom. Good luck!
LikeLike
Great work! Looks wonderful!
How did you know the stud you cut was not load-bearing?
LikeLike
I knew because it was obvious by the framing that there used to be a tub/shower combo in that space. So originally there would not have been studs there at all. Thank you for your comment!
LikeLike