Do you have an empty space in your kitchen next to your refrigerator? If you do, and want to make good use of that space, you might want to add this rolling pantry to your honey-do list.

I wish I could take credit for this idea, but I can’t. I saw it on a Facebook post, and decided to construct one, only with a couple of tweaks to make it work better for my situation. Here’s the original post—http://www.instructables.com/id/Hidden-Fridge-Gap-Slide-Out-Pantry/.
I agonized over measurements for about half a day before deciding to build the pantry one inch smaller than the width of the space. This allowed for a decent amount of wiggle room when wheeling it in and out.
I purchased MDF (medium density fiberboard) from Home Depot, which is my all-time favorite construction material. It’s amazingly smooth, doesn’t splinter or have distracting knots, and it paints beautifully. The only con I’m aware of is that it can’t be exposed to water, so it can only be used on interior projects.
I bought a 3/4″ thick, 4′ x 8′ sheet of MDF, and Home Depot cut it down into seven boards, all at a length of 5’4″ by 6 3/4″. I originally wanted the pieces cut at seven inches, but I went with 6 3/4″ instead so I could get an extra board out of the sheet. I allowed 1/8 inch loss of material for each cut made, as that is the saw blade thickness.
I used two of the 5’4″ pieces for the sides of my unit, and cut the rest of the boards at home for the individual shelves, and the top and bottom pieces. I had a nice sized piece left over for another project too. Hernia alert!! MDF is very heavy. If you plan to purchase a sheet of it to cut at home, be sure to have help carrying it! Here are my cut pieces.

I constructed the rolling pantry as you would construct any bookcase, and used a bead board plywood scrap that I had on hand for the back to keep it square.

I used several garage sale purchases that I had on hand to keep the cost down, including finish nails, the handle, the wheels and some upholstery tacks.

First I cut my bead board to the size I wanted my unit to be. I then constructed a box with simple butt joints to fit the size of the bead board, being sure to glue all four corner butt joints. The top and bottom pieces should be placed in between the two side pieces, rather than on top and on bottom of the two side pieces. It makes for a more sturdy piece, since gravity would be working with your nails if they’re perpendicular to the floor instead of parallel to the floor. You want your nails working against gravity whenever possible.

I like using upholstery tacks for attaching backing to a shelving unit because the big heads don’t allow the bead board to pull off. If finishing nails are used, the bead board can be pushed off right over the top of them. I used wood glue here too.

Then I decided where I wanted my shelves to be, based on what I anticipated storing on them.

It’s much easier to paint shelves before installation, so I put a coat of primer and a coat of finish on the shelves, and all the semi-assembled pieces.

After I installed the shelves, I caulked, spackled and applied the final coat of paint. Caulking the cracks makes for a much more professional-looking job as you can see here.


Here’s when I realized the importance of using the right kind of wheels. I have a bucket of miscellaneous hardware that I pulled this first set of garage sale wheels out of.

I tried wheeling the pantry on these wheels, and as luck (or lack thereof) would have it, they weren’t a good choice. They were made of glass or porcelain, and I’m guessing they used to be on an antique piece of furniture. They would probably have been just fine on linoleum, but they weren’t well-suited for ceramic tile since they wouldn’t grip the tile. And since they were small, they were catching in my grout lines. So back out to my junk bucket I went. I found these larger, rubber wheels, and they worked much better.


Since my garage sale wheels didn’t come with screws, I searched my garage sale screw stash and found the perfect size.

Here’s the finished rolling pantry. Ta-da!!

Going…
Going…

Gone!
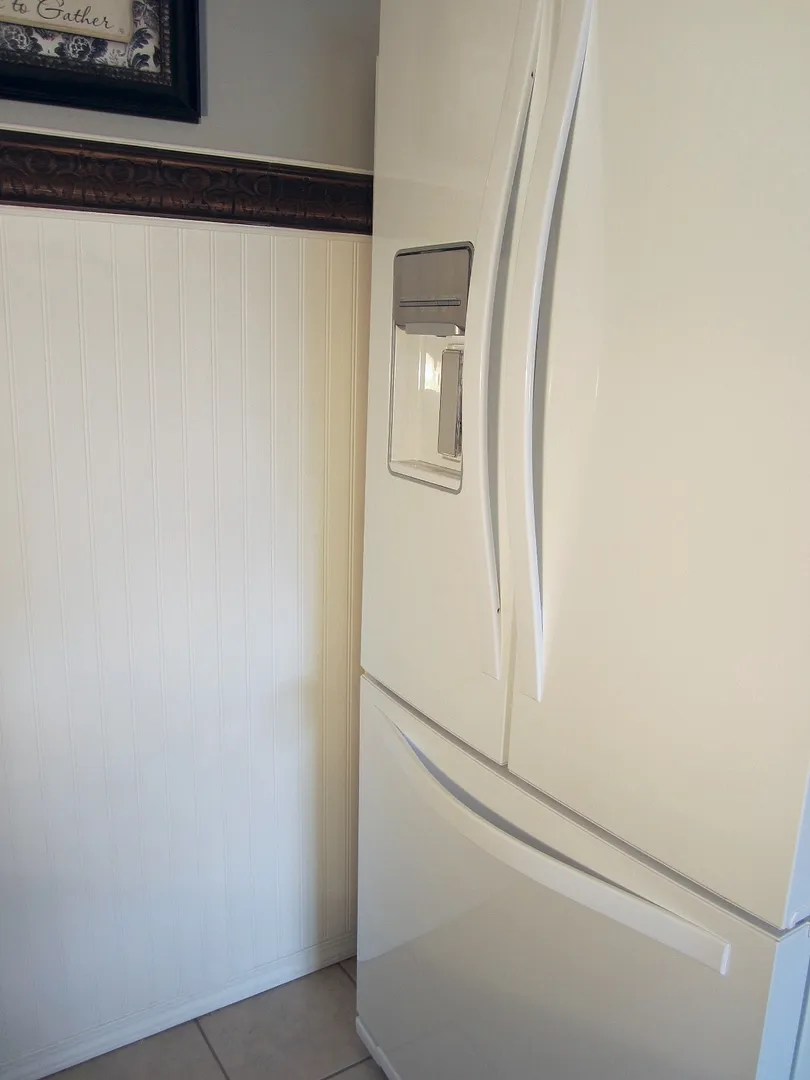
It tucks quite nicely in my little space.

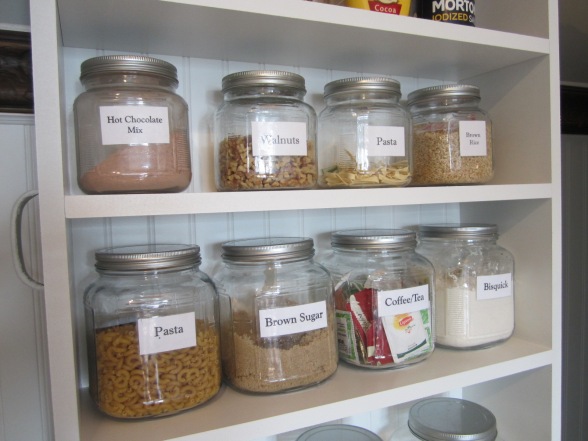
This magnificent contraption holds lots of kitchen stuff, and frees up my “real” pantry for my most often used items.


Toddler alert! Although I love this idea, it wouldn’t be a safe storage solution if you have toddlers who could possibly pull the unit out and tip it over. I placed my handle out of reach, and it would take a pretty strong child to pull this out of its resting place, but best to rule on the side of caution.
I had originally planned to insert wooden dowels a few inches above each shelf to keep items from falling off as was shown in the original post, but I decided it wasn’t necessary.
As far as cost goes, the MDF plywood was $27.00. The rest of the supplies were either garage sale bargains or leftovers from other projects. I got a lot of bang for my buck on this one!
For other kitchen storage ideas, visit my posts, “Creative Kitchen Storage for Pot Lids“, “How to Build a Simple Kitchen Cabinet for Open Display” and “Organize My Kitchen Pantry With What?!“.
This post was written by Tracy Evans who is a Certified Home Stager, Certified Redesigner and Journeyman Painter servicing the Central Illinois area. Feel free to visit her website at www.HelpAtHomeStaging.com to view her portfolio for more before and after pictures of her projects. And if you enjoy gardening, you may want to visit her gardening blog at MyUrbanGardenOasis.


Brilliant! Thank you for sharing!!
Sent from my iPhone
>
LikeLike
Thank you for your comment, Margaret. I wish I could take credit for the idea, but I was a mere copy cat this time around!
LikeLike
Great job Tracy! I really need to learn to caulk! I did buy some Durabond yesterday. I’m also impressed with all your glass jars. 🙂
LikeLike
Thanks! I bought some of those jars at Walmart, and found some of them at garage sales that matched. Gotta love that!
LikeLike